Páginas

6 jun 2012

Un tipi (teepee) para todos / A teepee for all of us

Ya está aquí el buen tiempo y lo tengo decidido, era algo que ya había visto en muchísimos sitios y que quería conseguir. No se cuánto costarán pero quiero uno. Pablo se volverá loco si se lo regalo por su cumple, sssshhh, el no lee este blog así que no se va a enterar (el sssh es para los que si lo leen y a demás conocen a Pablo, eh? jeje). Un tipi, pon un tipi en tu vida. Los niños se volverán locos. En el jardín, en la playa, en su habitación, en el salón. Es super fácil de hacer. Sólo necesitas palos (de bambú, de plástico, de la fregona...), tres 3x1.5 metros y cuerda para unirlo todo. Aquí os dejo ejemplos (en esta página os pone cómo hacer uno muy fácilmente)

Good weather is here and I´m decided, it was something I´ve seen for a long time and I wanted one. I don´t know how much it will cost but I WANT ONE. Pablo will drive crazy if I give him for his birthday (sssshh, don´t tell him). A teepee, put a teepee in your life. Kids will also drive crazy with it. Garden, beach, rooms, livingrooms... It´s super easy to make. You just need long sticks (wooden, plastic...), 3x0.60 yards of fabric and rope to finish it. Here you have some examples (here you can find it really easy)

SSMTP2.jpg


Candelabro de cobre DIY / Copper candleholder DIY

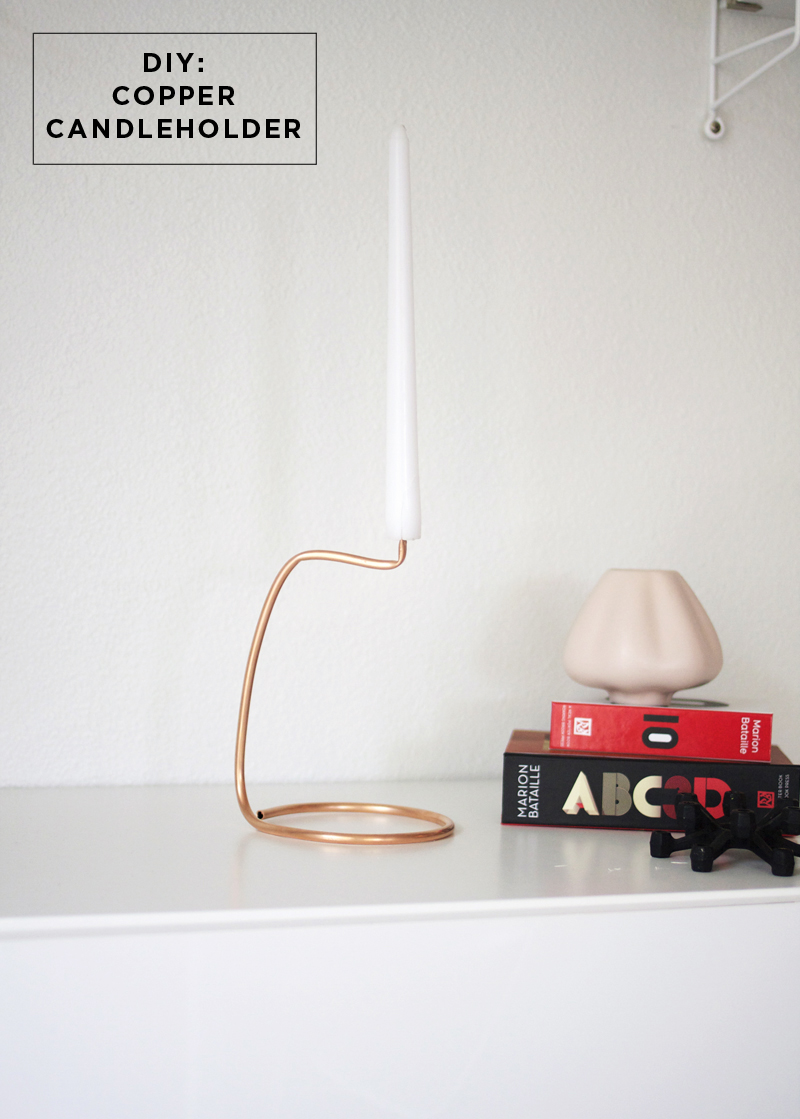
Si señoras y señores, hoy le voy a dedicar una entrada a ese candelabro que publiqué ayer, hecho por A Merry Mishap y que tanto me gustó a mi, en un principio y a much@s de mis lector@s . Esto es lo que teneis que hacer: comprais una bobina de cobre fino, en cualquier ferretería, y la doblais al rededor de algo redondo para hacer la base circular (ella usó un rollo grande de cinta adesiva). Sigue doblandolo hasta que hagas una "percha", que se refiere a las dos dobleces de la parte superior. Aprieta la punta con unos alicates y corta con una tijera. Por último pincha la vela, puede que si calientas un poco la base de la vela, sea más fácil. Y ya está!!! Espero que, si alguien lo intenta, comparta que tod@s el resultado.

Oh yes, ladies and gentelmen, today I will dedicate this post to the candleholder that I posted yesterday, made by A Merry Mishap and that we loved soooo much. This is what you need to do: you just need to buy some thin copper coil, found at the hardware store in the copper pipe section, and bend it around something circular for the base, in my case I used a big roll of tape. Keep bending until you make a little perch on top for the candle stick to fit on. I pinched the pipe closed with a pair of pliers to make a sharper edge & then cut a matching slit in the bottom of the candle using dull scissor tips. Carefully wedge the candle over the sharp edge, maybe even warming the wax a bit to make it malleable and that's it! (original text from A Merry Mishap)

Untitled